 How-to
Preventing Cross Contamination in Medical Office Cleaning
Table of Contents
- Understanding Cross-Contamination and Its Risks in Medical Settings
- High-Touch Surface Cleaning in Medical Offices: Frequency and Standards
- Color-Coded Cleaning Equipment for Healthcare Facilities
- Cleaning and Disinfecting Exam Rooms: Step-by-Step Protocol
- Medical Office Cleaning Checklist and Quality Verification
- Personal Protective Equipment and Hand Hygiene for Cleaning Staff
- Equipment Storage, Handling, and Contaminated Materials Management
- Staff Training, Documentation, and Compliance Monitoring
- Frequently Asked Questions
Last Updated: October 17, 2026
Understanding Cross-Contamination and Its Risks in Medical Settings
Cross-contamination happens when harmful germs spread from one surface or area to another. Preventing cross contamination in medical office cleaning is critical to patient safety and staff health.
Medical facilities treat patients with weakened immune systems, open wounds, and respiratory conditions. A single contaminated surface can expose dozens of people.
At Rangel Janitorial, we understand that preventing cross contamination in medical office cleaning requires more than basic cleaning. It demands a systematic approach with color-coded tools, proper disinfectant use, and staff training that sticks.
The path from contamination to infection is faster than most people realize. A patient-care area touched by contaminated hands spreads germs within minutes.
Understanding the difference between cleaning, disinfection, and sterilization matters here. Cleaning removes visible dirt and organic material. Disinfection kills most pathogens using chemical products.
High-Touch Surface Cleaning in Medical Offices: Frequency and Standards
High-touch surfaces demand more frequent attention than low-contact areas. These surfaces include examination tables, door handles, light switches, blood pressure cuff handles, computer keyboards, and reception desk counters. Cleaning frequency depends on patient volume, surface material, and visible contamination.
Exam rooms and patient-care areas should be disinfected between every patient visit. Waiting rooms and common areas need cleaning at least twice daily, more often during peak patient traffic.
Standard operating procedures should specify frequency by area type:
- Patient exam rooms: Disinfect after each patient
- Waiting areas: Clean and disinfect twice daily minimum
- Restrooms: Clean and disinfect 3-4 times daily
- Reception desk: Disinfect every 2-3 hours during business hours
- Door handles and light switches: Disinfect every 2-3 hours in high-traffic areas
Environmental surfaces in medical offices include walls, floors, and equipment that patients may contact. These require routine cleaning to remove dust and organic material that can harbor pathogens.
The EPA-registered disinfectants you select should have proven effectiveness against common healthcare pathogens. Product label directions specify contact time and surface compatibility.
Color-Coded Cleaning Equipment for Healthcare Facilities
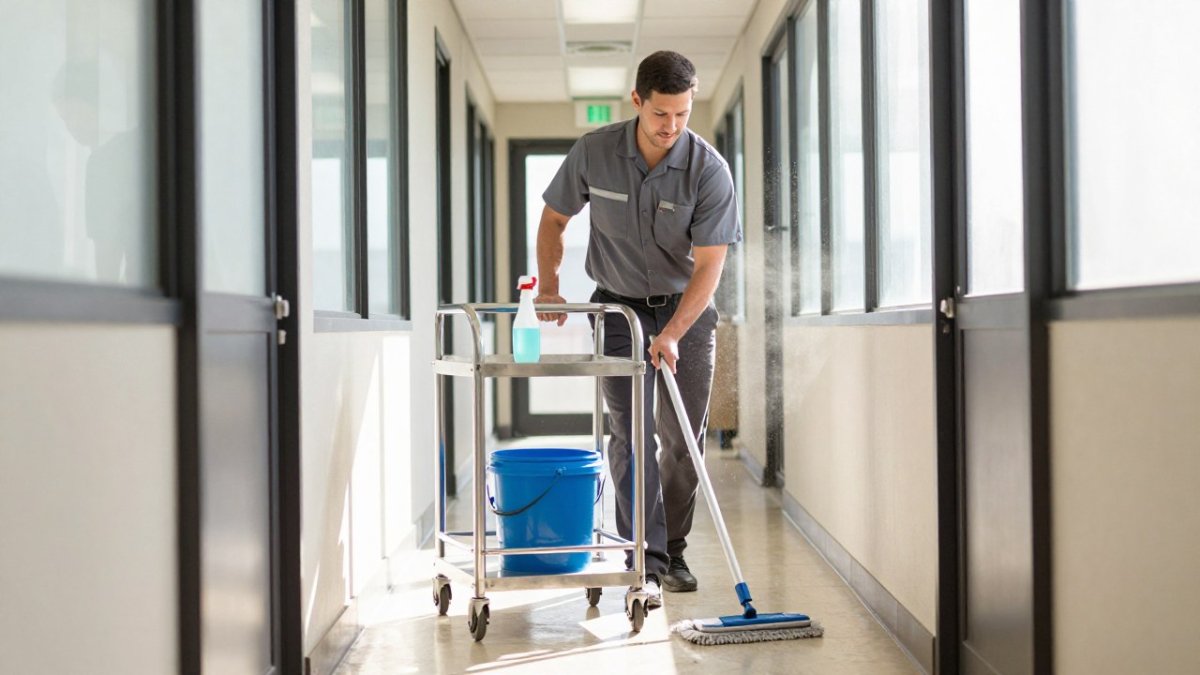
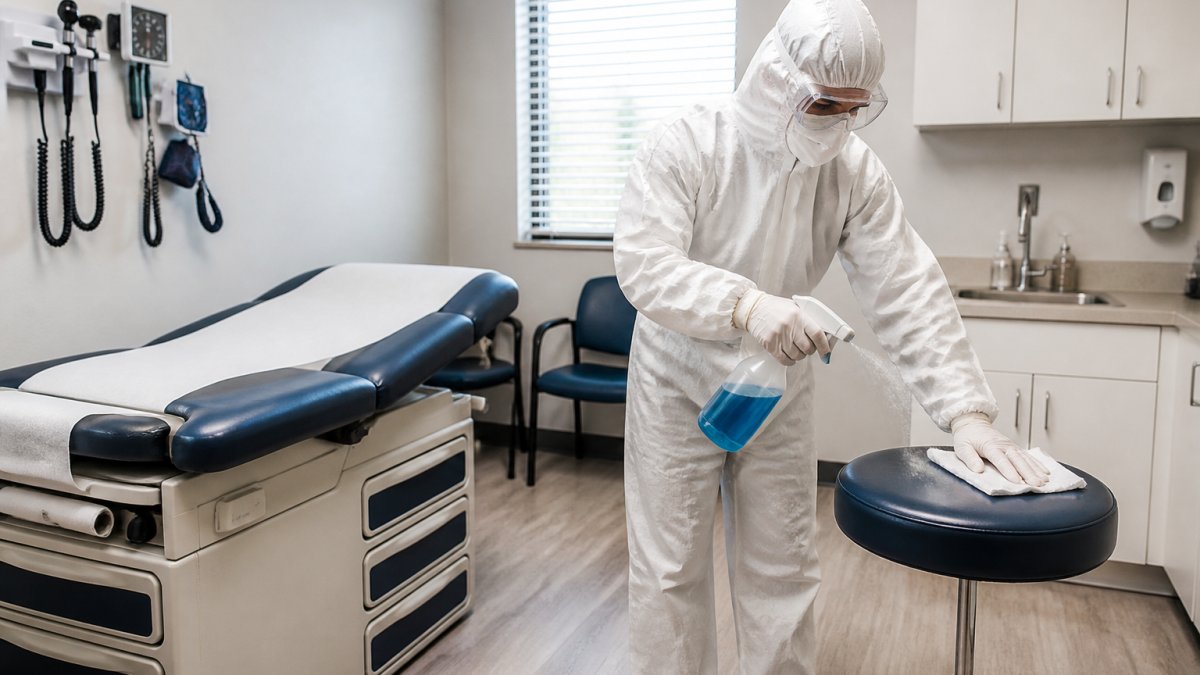
Color-coded cleaning equipment prevents cross-contamination between different areas. This system uses separate tools for patient-care areas, restrooms, and general spaces. Each color represents a specific zone, and tools never move between zones.
A typical color-coding system works like this:
- Red: Patient-care areas and exam rooms
- Yellow: Restrooms and toilet areas
- Blue: General office areas and waiting rooms
- Green: Kitchen and food preparation areas (if applicable)
Microfiber cloths and mop pads should match the color system. Single-use wipes offer another layer of protection because they eliminate the risk of reusing contaminated cloths.
Mop handles, buckets, and equipment storage must also follow the color system. A red mop never touches a restroom floor. A yellow cloth never enters an exam room.
Cleaning staff should have dedicated storage areas for each color group. Store equipment in a way that prevents cross-contact.
Reusable cleaning equipment requires proper handling. Wash microfiber cloths and mop pads in hot water with appropriate detergent. High-heat drying kills residual pathogens. Replace worn or damaged cloths regularly because frayed edges harbor bacteria.
Cleaning and Disinfecting Exam Rooms: Step-by-Step Protocol
Exam room disinfection must follow a clean-to-dirty sequence. This means starting in the cleanest area and moving toward potentially contaminated zones. The approach prevents spreading germs from dirty areas back to clean ones.
Clean-to-Dirty Sequence and Top-to-Bottom Approach
Start at the top of the room and work downward. Gravity pulls dust and debris down, so cleaning high surfaces first prevents recontaminating lower areas you've already cleaned. Work from the door inward, finishing at the far corner.
The clean-to-dirty principle applies within each room. Clean the following order:
- Walls and upper surfaces (light fixtures, vents, shelves)
- Work surfaces and equipment (examination table, counters, computer keyboards)
- Door handles and light switches
- Floors and baseboards
- Trash and waste containers
This order ensures you don't touch a contaminated trash container and then move to the exam table. Each step prepares the next one without introducing new pathogens.
Start with dry cleaning to remove dust and visible debris. Use a microfiber cloth or single-use wipe with appropriate disinfectant. Allow the disinfectant contact time, usually 10 minutes for most EPA-registered products, though some work faster (the EPA).
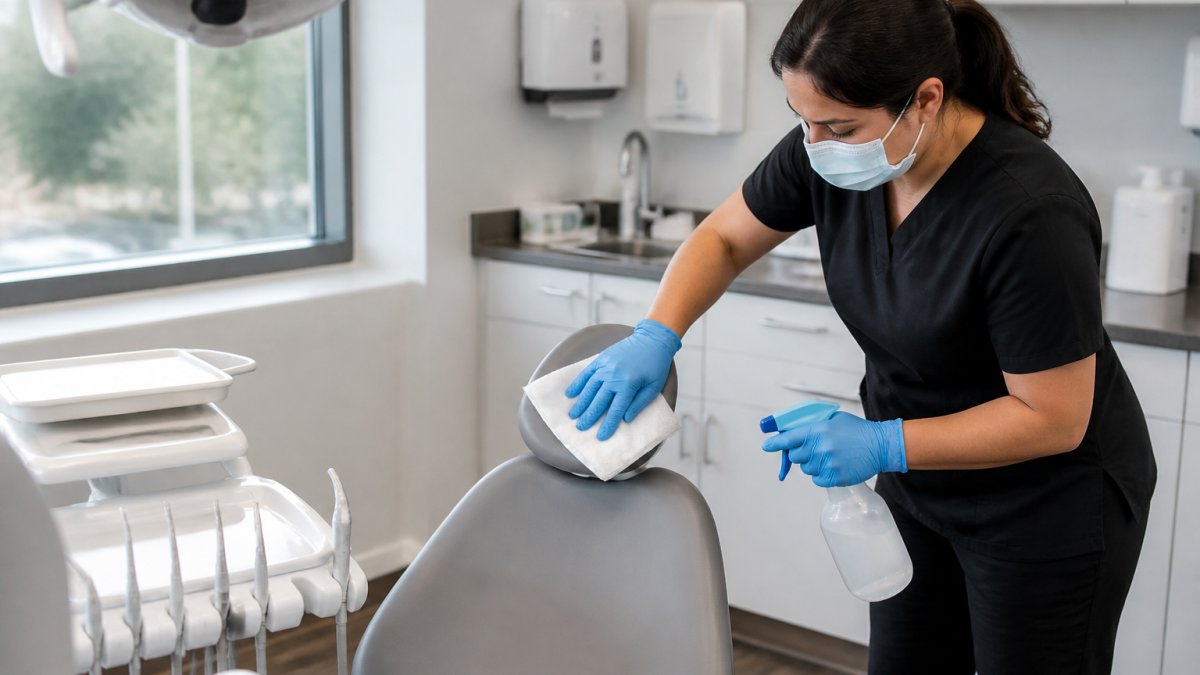
Pay special attention to the examination table because it contacts patients directly. Disinfect the entire surface including legs and base. Computer keyboards and mice need disinfection too. These touch hands throughout the day and concentrate germs.
Disinfectant Selection and Contact Time
Selecting the right disinfectant matters because different products work against different pathogens. EPA-registered disinfectants carry a label listing pathogens they kill. Choose products effective against bacteria, viruses, and fungi common in medical settings.
Contact time is the number of minutes a disinfectant must remain wet on a surface to achieve full effectiveness. A surface that dries in 3 minutes but requires 10 minutes contact time won't disinfect properly. Check the product label before application.
Common disinfectant types include:
- Quaternary ammonium compounds (quats): Fast-acting, good for general surfaces, typically 10-minute contact time
- Phenolic compounds: Effective against tough pathogens, may require longer contact time, sometimes 15-20 minutes
- Hypochlorite (bleach-based): Strong disinfectant, requires careful handling, typically 10-minute contact time
- Hydrogen peroxide: Lower toxicity, effective against many pathogens, typically 5-10 minute contact time
Surface compatibility matters because some disinfectants damage certain materials. Never use bleach on stainless steel. Avoid harsh phenolics on plastic or painted surfaces. Always test disinfectants on inconspicuous areas first.
Apply disinfectant generously enough to keep the surface wet for the full contact time. Spraying lightly and wiping immediately defeats the purpose. Use enough product to visibly wet the surface. Let it sit for the required time before wiping clean.
Medical Office Cleaning Checklist and Quality Verification
A cleaning checklist ensures consistent execution across all staff and shifts. It documents what gets cleaned, when, and by whom. This accountability system catches missed areas and identifies training gaps.
Your checklist should include:
- Exam rooms: all surfaces, equipment, and fixtures
- High-touch surfaces: door handles, light switches, armrests
- Patient-care equipment: blood pressure cuffs, thermometers, stethoscopes
- Restrooms: toilets, sinks, dispensers, mirrors, floors
- Waiting areas: chairs, tables, magazines, reception desk
- Floors: swept, mopped, and dried
- Trash removed and containers disinfected
- Staff completed hand hygiene before and after cleaning
- Proper PPE worn throughout
- Disinfectant contact time observed
- Color-coded equipment used correctly
Quality verification means checking that cleaning actually happened and met standards. Assign someone to inspect completed work daily. Look for missed spots, inadequate disinfectant application, and equipment misuse. Document findings and address gaps immediately.
Visual inspection catches obvious problems. Surfaces should appear clean with no visible debris or discoloration. Floors should be dry and free of debris. Trash containers should be empty. Equipment should be stored properly by color.
Microbiological testing provides deeper verification. Swab high-touch surfaces and send samples to a lab for pathogen detection. This testing reveals contamination that visual inspection misses. Many medical offices test monthly or quarterly to track cleaning effectiveness over time.
Personal Protective Equipment and Hand Hygiene for Cleaning Staff
Cleaning staff need proper protective equipment because they handle contaminated materials and disinfectants. Personal protective equipment (PPE) creates a barrier between workers and pathogens or chemical hazards.
Standard PPE for medical office cleaning includes:
- Gloves: Nitrile or latex, changed between rooms and after touching contaminated materials
- Gown or apron: Protects clothing from splashes and contamination
- Mask: Protects against respiratory droplets, especially during cleaning that creates aerosols
- Eye protection: Shields eyes from splashes when mixing or applying disinfectants
- Closed-toe shoes: Protects feet from spills and contamination
Glove changes are critical because gloves become contaminated during cleaning. Change gloves when moving between patient-care areas and general spaces. Change gloves after handling trash or contaminated materials. Never wear the same pair through multiple rooms.
Hand hygiene happens before gloving and after removing gloves. Wash hands with soap and water for at least 20 seconds (the CDC). Alcohol-based hand sanitizer works when hands aren't visibly soiled. Hand hygiene removes pathogens that gloves don't capture.
Staff should understand why PPE matters. It's not just following rules, it's protecting themselves, patients, and their families. Proper training makes PPE use automatic rather than a burden. Demonstrate correct donning and doffing.
Equipment Storage, Handling, and Contaminated Materials Management
Storing equipment properly prevents cross-contamination between cleaning sessions. Wet mop pads and cloths need air circulation to dry. Never store damp equipment in sealed containers where mold grows.
Designated storage areas keep color-coded equipment separated. Red equipment stays in one location. Yellow in another. This physical separation prevents accidental mixing.
Contaminated materials like used wipes, gloves, and protective gowns require special handling. These items may contain pathogens and shouldn't contact clean areas.
Blood and body-fluid spills demand immediate attention. Contain the spill with absorbent material. Disinfect the area thoroughly using appropriate products and contact time.
Equipment maintenance keeps tools functional and safe. Inspect mop handles for damage. Replace worn microfiber cloths. Clean equipment storage areas regularly.
Staff should know how to handle equipment safely. Don't mix cleaning products because chemical reactions create toxic fumes. Store disinfectants in original containers with clear labels.
Staff Training, Documentation, and Compliance Monitoring
Staff training creates the foundation for preventing cross contamination in medical office cleaning. Every team member needs to understand why protocols matter and how to execute them correctly.
Training should cover:
- Cross-contamination pathways and how pathogens spread
- Cleaning versus disinfection versus sterilization
- Color-coded equipment system and why it matters
- Proper disinfectant application and contact time
- PPE selection, donning, and doffing
- Hand hygiene protocols
- Checklist completion and documentation
- Incident reporting for spills or exposures
New staff need hands-on training with experienced workers. Demonstrate each procedure and watch them practice. Correct mistakes immediately. Competency checks ensure staff can perform tasks safely before working independently.
Documentation creates accountability and tracks compliance. Cleaning checklists signed by staff show what was completed and when. Inspection records document quality verification. Incident reports capture spills, exposures, or equipment failures.
Compliance monitoring means checking that staff follow protocols consistently. Supervisors should observe cleaning procedures regularly. Review completed checklists for completeness. Inspect work areas to verify cleaning quality.
Regular meetings reinforce training and address emerging issues. Discuss near-misses and what prevented them from becoming incidents. Share best practices from high-performing staff.
Preventing cross contamination in medical office cleaning protects patients, staff, and your practice's reputation. Our fully bonded and insured crews understand healthcare-specific cleaning requirements and deliver consistent quality through specialized training and EPA-registered disinfection protocols.
Frequently Asked Questions
How do you prevent cross-contamination while cleaning a medical office?
Prevent cross-contamination by using a clean-to-dirty sequence, starting in patient-care areas before moving to common areas. Use color-coded cleaning tools dedicated to specific zones, change gloves between rooms, and apply EPA-registered disinfectants with proper contact time on all high-touch surfaces. Store reusable equipment in separate, designated areas to avoid mixing contaminated and clean items. Establish a standard operating procedure and train staff on infection-control protocols to ensure consistent execution across all cleaning tasks.
What should be included in a medical office cleaning checklist?
A comprehensive medical office cleaning checklist must cover high-touch surfaces (door handles, light switches, handrails), patient-care equipment, exam tables, sinks, and flooring in each room. Include separate sections for waiting areas, restrooms, and staff areas. Document disinfectant type, contact time, and date/time of cleaning. Assign responsibility to specific staff members and include verification steps such as visual inspection to confirm effective disinfection.
How often should high-touch surfaces be cleaned in a medical office?
High-touch surfaces in patient-care areas should be cleaned and disinfected multiple times daily, particularly after each patient visit or at minimum between morning and afternoon sessions. Common high-touch areas include door handles, light switches, handrails, and reception desk counters. Restrooms and waiting areas require at least twice-daily cleaning. The exact frequency depends on patient volume and infection-control protocols specific to your practice. Establish a cleaning schedule and monitor compliance through staff checklists and documented audits to maintain consistent infection prevention standards.
What is the correct order for cleaning a medical exam room?
Follow a clean-to-dirty sequence: start with the least contaminated areas (upper surfaces, walls) and finish with the most contaminated (floor). Begin at the top of the room and work downward. Clean patient-care equipment and exam tables first, then environmental surfaces, and finish with flooring. Use a single set of color-coded tools designated for that room only. Apply EPA-registered disinfectant to all surfaces and allow proper contact time as specified on the product label. Change gloves between rooms and dispose of single-use wipes and mop pads in designated contaminated waste containers to prevent cross-contamination.