 How-to
How to Prepare Office for Electrostatic Spraying
Table of Contents
- What Electrostatic Spraying Is and How It Works
- Office Electrostatic Disinfection Preparation Checklist
- Pre-Cleaning Surfaces Before Disinfection
- Electrostatic Sprayer Office Safety Precautions
- Verifying Product Labels and Surface Compatibility
- Electrostatic Disinfection Reentry Time and Post-Application Steps
- Common Mistakes to Avoid When Preparing for Electrostatic Spraying
- Frequently Asked Questions
Last Updated: October 14, 2026
What Electrostatic Spraying Is and How It Works
Electrostatic spraying is a disinfection method that applies charged droplets to surfaces, allowing them to coat hard-to-reach areas with germicide. The sprayer gives disinfectant droplets an electrical charge.
The process works because of basic physics. Positively charged droplets are attracted to surfaces. They cling to desktops, handles, doorknobs, and fixtures without dripping or pooling. The wraparound coverage reaches crevices and undersides that traditional spraying misses.
Most electrostatic sprayers hold a chemical reservoir and use battery charge to ionize the liquid. The nozzle releases a fine mist of negatively or positively charged particles.
At Rangel Janitorial, we've used electrostatic spraying to disinfect offices, medical facilities, and industrial spaces. The technology delivers 360-degree coverage that standard cleaning cannot match.
Office Electrostatic Disinfection Preparation Checklist
Learning how to prepare office for electrostatic spraying prevents damage and ensures the disinfectant works as intended. A thorough preparation checklist takes 2-4 hours, depending on office size. The effort pays off in complete coverage and no costly mistakes.
Room-by-Room Preparation Steps
Walk through each room and follow these steps systematically.
Step 1: Clear the room of people and pets. Everyone must leave before spraying begins. Close doors to seal off treated areas.
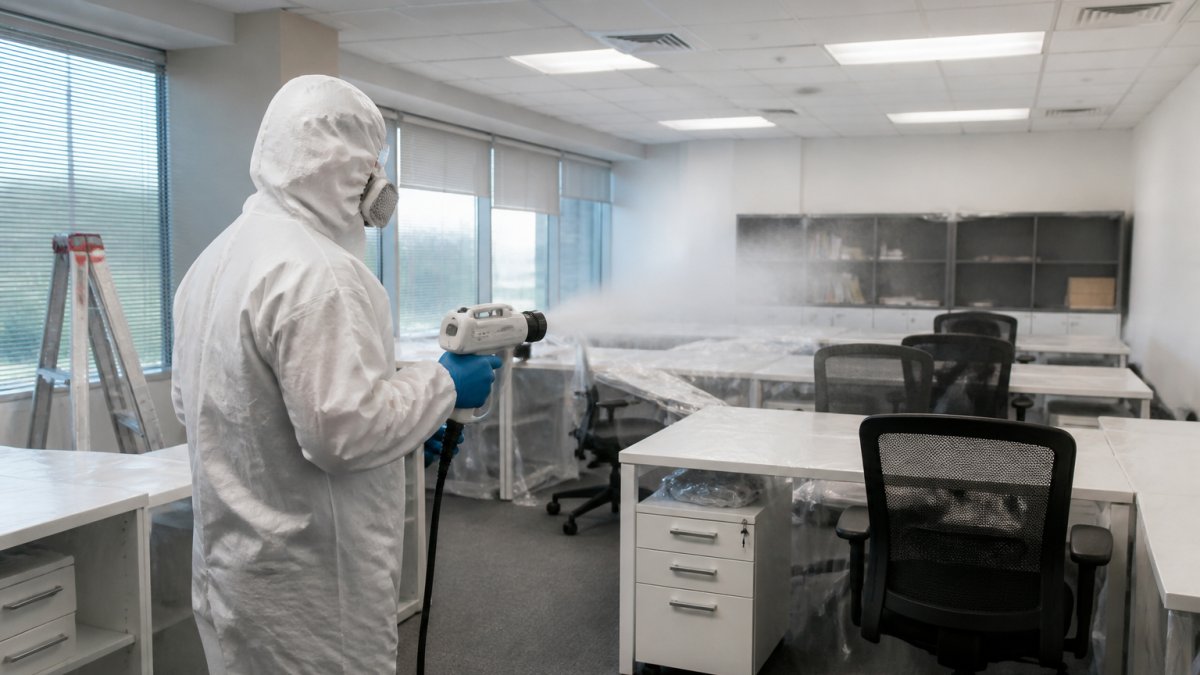
Step 2: Remove or cover sensitive equipment. Electronics, keyboards, monitors, and phones should be unplugged and covered with plastic sheeting.
Step 3: Close windows and doors. Seal the space completely. Open windows allow the mist to escape and reduce coverage.
Step 4: Turn off HVAC systems. Heating and cooling units can disperse the mist unevenly. Turn off air conditioning and ventilation during application.
Step 5: Check for obstacles. Move trash cans, storage boxes, and temporary items to the hallway.
Items to Remove or Cover
Some items must leave the room entirely. Others can stay if properly protected.
Remove completely:
- Food and beverages
- Plants and flowers
- Open papers and documents
- Medications and supplements
- Pet food and water bowls
- Cleaning supplies and chemicals
Cover with plastic sheeting:
- Computer monitors and keyboards
- Printers and copiers
- Phones and headsets
- Artwork and framed photos
- Upholstered furniture that cannot be moved
- Light switches and electrical outlets (optional, but recommended)
Covering is faster than removing. Use painter's plastic or standard plastic sheeting. Tape it securely so the mist cannot seep underneath.
Pre-Cleaning Surfaces Before Disinfection
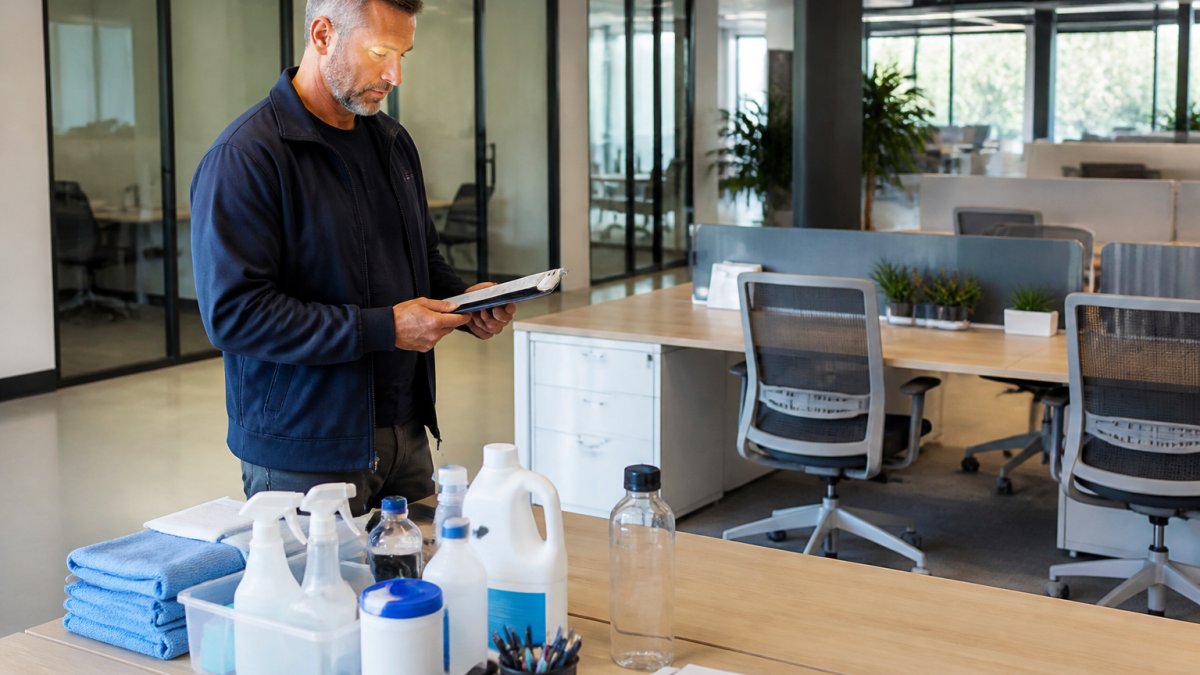
Dirty surfaces block disinfectant from reaching pathogens. Pre-cleaning removes soil so the electrostatic mist can make direct contact with bacteria and germs. This is the step most offices rush, and it is the step that most often determines whether the treatment actually works.
Why Pre-Cleaning Matters
Dust, grease, and debris create barriers. A layer of dust on a doorknob means the disinfectant coats the dust, not the metal beneath. The pathogens hiding under the dirt survive. Pre-cleaning ensures the disinfectant reaches living pathogens, not just surface grime.
Most disinfectant labels are written for pre-cleaned, non-porous, hard surfaces. When a label says "apply to pre-cleaned surfaces," it is telling you the contact-time kill claim was validated on a clean surface, not on a dusty one.
Many facility managers skip this step to save time. This is a common mistake. Pre-cleaning adds 1-2 hours on a typical office floor but dramatically improves disinfection efficacy. The germicide works only where it makes contact.
Match the Cleaner to the Soil and the Surface
Different soils need different cleaners. Using the wrong one can leave a residue that blocks the disinfectant just as effectively as the dirt did.
- Dust and light office soil: a damp microfiber cloth with water is usually enough. Microfiber lifts and traps particles rather than pushing them around.
- Oils, fingerprints, and body oils: a mild neutral detergent. Greasy films on phones, keyboards, and door push plates are the most common cause of failed disinfectant contact.
- Restroom soils (soap scum, mineral deposits, uric scale): a bathroom cleaner formulated for the fixture. These soils are alkaline or mineral-based and resist neutral detergents.
- Breakroom soils (food residue, coffee, grease): a degreaser appropriate for the surface. Food residue is a nutrient source and a physical barrier at the same time.
Check the disinfectant label and the cleaner label for compatibility. Some disinfectants are incompatible with quaternary ammonium residues left by certain cleaners, and some surfaces (certain plastics, painted metal, anodized aluminum) can be dulled or discolored by aggressive cleaners.
Soil Removal and Surface Preparation
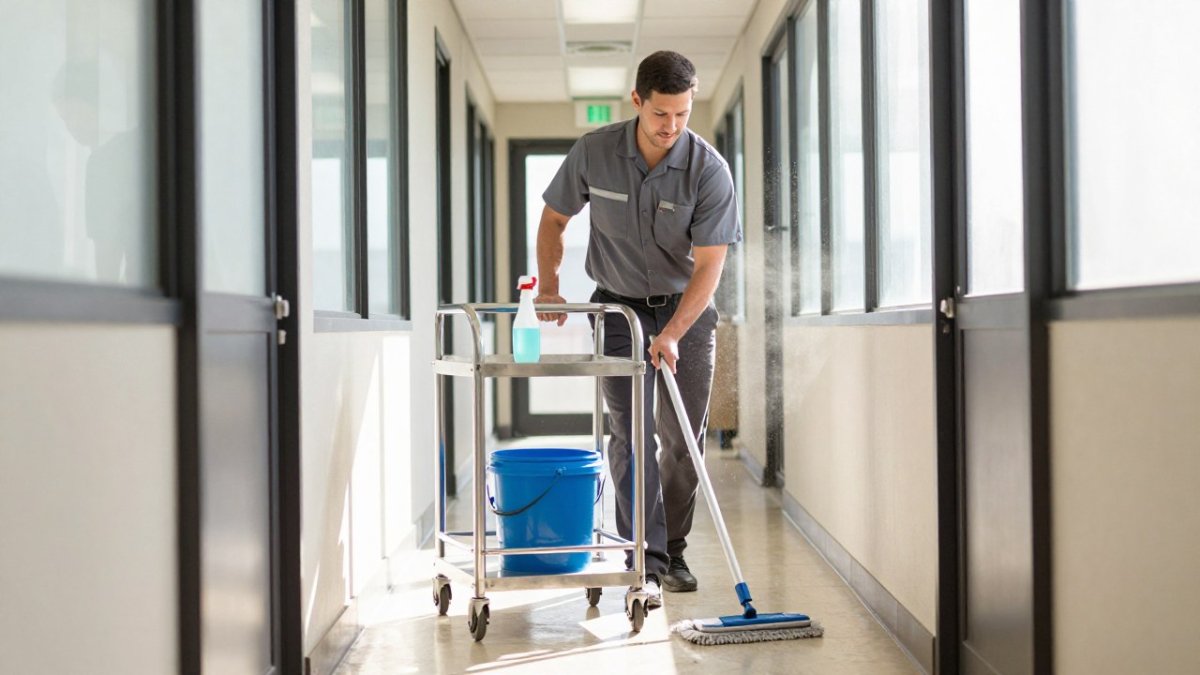
Pre-clean high-touch surfaces and visibly dirty areas the day before or morning of treatment.
For desktops and work surfaces:
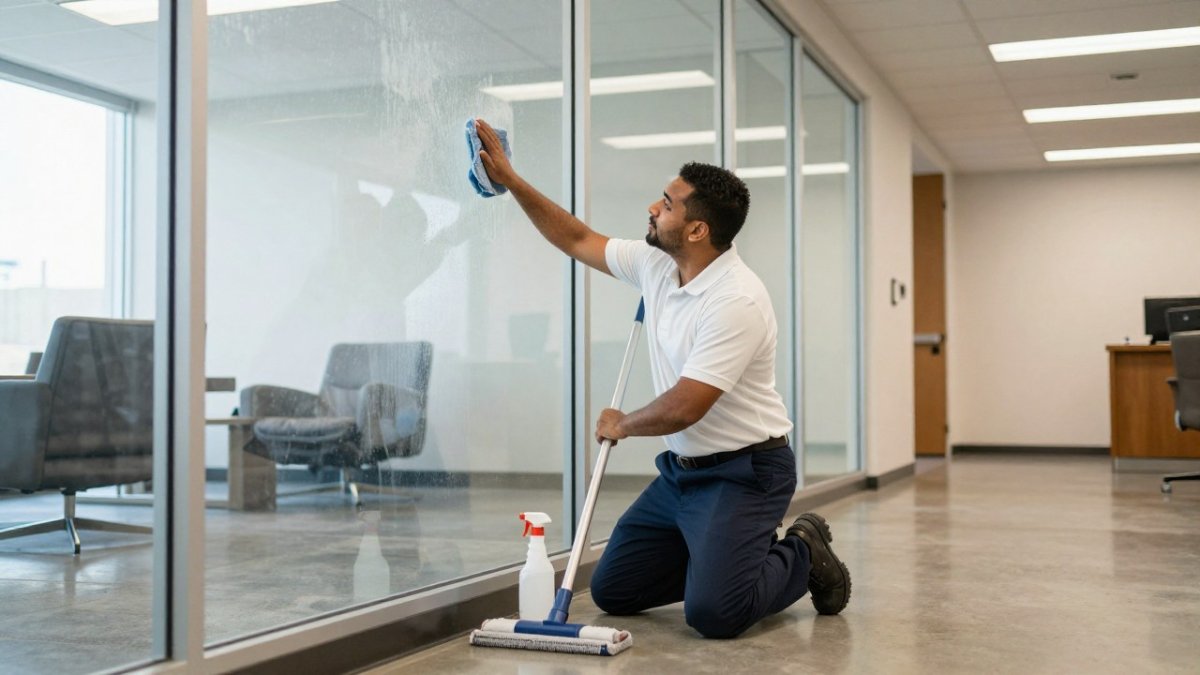
- Wipe with a damp microfiber cloth to remove dust and debris
- Use a mild detergent if surfaces are greasy
- Dry completely before spraying begins
For doorknobs, handles, and push plates:
- Scrub with a cloth dampened in soapy water
- Pay special attention to crevices where dirt accumulates
- Rinse with a damp cloth and dry thoroughly
For restroom fixtures:
- Clean toilets, sinks, and faucets with a bathroom cleaner
- Scrub soap dispensers and paper towel holders
- Wipe down mirrors and light switches
For shared equipment:
- Clean keyboards and mouse surfaces with disinfectant wipes
- Wipe down printer buttons and handles
- Clean phone handsets and headsets
Do not over-wet surfaces. Excess moisture can interfere with the electrostatic charge. Surfaces should be damp during cleaning, then dry before the sprayer arrives.
What Pre-Cleaning Does Not Replace
Pre-cleaning is not the same as disinfecting, and electrostatic spraying is not the same as routine cleaning. A common pattern is for offices to reduce their regular cleaning frequency after adding electrostatic treatment, on the assumption that the spray covers everything. It does not. Spraying does not remove soil, and it does not replace the daily wipe-down of high-touch points that keeps soil from accumulating in the first place.
The practical sequence is: routine cleaning removes soil daily, pre-cleaning prepares surfaces for treatment, and electrostatic spraying delivers the disinfectant contact-time kill. Skipping any one of the three weakens the other two.
EPA List N, disinfectants for use against emerging viral pathogens
Electrostatic Sprayer Office Safety Precautions
Safety protects your team and ensures the disinfectant works correctly. Proper preparation prevents injuries and property damage.
Personal Protective Equipment Requirements
The operator applying the disinfectant must wear full PPE. Facility staff and managers should also wear protective gear during setup and cleanup.
Required PPE:
- Respiratory protection (N95 mask or respirator rated for chemical mist)
- Eye protection (safety glasses or face shield)
- Gloves (nitrile or chemical-resistant material)
- Protective gown or long sleeves
- Closed-toe shoes
Check the disinfectant label for specific PPE requirements. Some germicides require higher-level respiratory protection than others. Never assume one mask fits all products.
Ventilation and Environmental Setup
Proper ventilation prevents disinfectant buildup and speeds drying.
Before spraying:
- Close all windows and interior doors to contain the mist
- Turn off HVAC systems to prevent mist dispersal
- Post "Do Not Enter" signs on treated areas
After spraying:
- Open windows and doors immediately
- Turn HVAC systems back on after 15-30 minutes
- Allow air to circulate for at least 30 minutes before re-entry
- Use fans to move air if natural ventilation is limited
Adequate ventilation is essential for employee safety and faster drying. A stuffy room takes longer for surfaces to dry and prolongs exposure time.
Verifying Product Labels and Surface Compatibility
Different disinfectants work on different surfaces. Always check the product label before spraying.
Read the label carefully. It lists approved surfaces, contact time, and safety precautions. Some disinfectants damage wood, fabric, or certain plastics. Applying the wrong product to the wrong surface can ruin furniture and equipment.
Check the label for:
- Approved surface types (hard surfaces, porous surfaces, electronics)
- Contact time (how long the surface must stay wet)
- Drying time (how long before the space is safe to re-enter)
- Safety warnings and required PPE
- Dilution instructions (if the product requires mixing)
- Storage and shelf-life requirements
Test the disinfectant on a hidden area first. Spray a small section of carpet, upholstery, or painted wall in a closet. Wait 24 hours and check for discoloration or damage. This prevents costly mistakes on visible surfaces.
Keep the product label and safety data sheet (SDS) on hand during application. If a problem occurs, you'll have the information needed to address it quickly.
Electrostatic Disinfection Reentry Time and Post-Application Steps
Contact time and drying time determine when your office is safe to occupy again.
Contact Time and Drying Requirements
Contact time is how long the disinfectant must remain wet on surfaces to kill pathogens. This varies by product. Most contact times range from 5 to 15 minutes.
Drying time is how long it takes for surfaces to become completely dry. This depends on humidity, temperature, and ventilation. Drying typically takes 30 minutes to 2 hours.
Do not allow occupants to return until:
- Contact time has fully elapsed
- Surfaces are visibly dry to the touch
- The space has been ventilated for at least 30 minutes
- Any odor from the disinfectant has dissipated
Rushing re-entry risks exposing employees to wet disinfectant. It also prevents the germicide from completing its work on pathogens.
Employee Re-Entry Procedures
Post clear signage before spraying begins. Employees need to know when they can safely return.
Communicate the timeline:
- Inform staff of the spraying date and time
- Specify when areas will be closed
- Announce when re-entry is permitted
- Send a reminder email 30 minutes before re-entry
Upon re-entry:
- Have employees wipe down their desks and keyboards with a dry cloth
- Ask them to wash their hands after handling treated surfaces
- Encourage them to report any unusual odors or reactions
- Monitor for complaints or issues during the first few hours
Some disinfectants leave a slight residue or odor. This is normal and typically fades within hours. If the smell persists or employees report irritation, increase ventilation and contact the disinfection provider.
Common Mistakes to Avoid When Preparing for Electrostatic Spraying
These errors delay treatment, damage equipment, or reduce disinfection effectiveness.
Mistake 1: Leaving electronics plugged in. Electrostatic mist can damage powered equipment. Unplug everything before spraying.
Mistake 2: Skipping pre-cleaning. Dirt blocks disinfectant from reaching pathogens.
Mistake 3: Opening windows during application. The mist disperses quickly if windows are open.
Mistake 4: Not checking the product label. Different disinfectants have different requirements. Read the label.
Mistake 5: Allowing early re-entry. Surfaces must dry completely before people return.
Mistake 6: Ignoring ventilation. Poor air circulation prolongs drying and traps fumes.
Mistake 7: Not communicating with staff. Employees need to know the schedule. Post signs. Send emails.
Frequently Asked Questions
Why does a surface have to be pre-cleaned before electrostatic disinfection?
Dirt, dust, and organic soil create a barrier that prevents disinfectant from making direct contact with pathogens and surfaces. Pre-cleaning removes this layer so the charged droplets can reach all bacteria and germs effectively. Without pre-cleaning, the disinfectant may sit on top of soil rather than penetrating to where microorganisms live, reducing the effectiveness of the treatment.
What should be removed or covered before an electrostatic sprayer is used in an office?
Remove all personal items, papers, and small objects from desks and surfaces. Cover electronics, computer monitors, keyboards, and sensitive equipment with plastic sheeting. Close filing cabinets and drawers, and cover any items that cannot be removed. Unplug equipment when possible. Move or cover plants, artwork, and decorative items. Ensure all doors and windows are closed to contain the mist and prevent drift into adjacent spaces.
How long should an office remain unoccupied after electrostatic spraying?
Most disinfectants require a contact time of 10 to 15 minutes, though this varies by product label. Allow additional time for surfaces to dry completely, which typically takes 30 minutes to 1 hour depending on humidity and ventilation. Follow the specific re-entry time on your disinfectant's label. Employees should not return until surfaces are dry and any chemical odor has dissipated, ensuring safe electrostatic disinfection reentry time.
Can electrostatic spray disinfect electronics and office equipment?
Electrostatic spray can treat some electronics if they are powered down and properly protected. However, most manufacturers recommend covering sensitive equipment with plastic sheeting before spraying. Check equipment manuals and the disinfectant label for compatibility. Covered or removed electronics remain safe and unaffected. For high-touch items like phones, keyboards, and door handles, electrostatic treatment after removal of protective coverings is effective when the disinfectant is compatible with those materials.