 How-to
Hospital Grade Disinfection: Step-by-Step Guide
Table of Contents
- What Hospital-Grade Disinfection Means
- Step 1: Assess Your Facility and Identify High-Touch Surfaces
- Step 2: Pre-Clean and Remove Visible Soil
- Step 3: Choose Approved Cleaning Agents and Hospital-Grade Disinfectants
- Step 4: Apply Disinfectant and Maintain Hospital-Grade Disinfectant Contact Time
- Step 5: Implement a Healthcare Facility Cleaning and Disinfection Protocol
- Step 6: Create a Cleaning and Disinfection Standard Operating Procedure
- Step 7: Validate and Measure Disinfection Effectiveness
- Frequently Asked Questions
Last Updated: October 12, 2026
What Hospital-Grade Disinfection Means
Hospital-grade disinfection uses approved chemical agents and validated methods to eliminate pathogens from surfaces and equipment in medical and high-risk environments.
Cleaning removes visible dirt and soil; disinfection kills germs cleaning alone cannot eliminate.
It follows infection control standards and requires the right products, proper contact time, and documented procedures.
Step 1: Assess Your Facility and Identify High-Touch Surfaces
Map your facility to identify which areas need hospital-grade disinfection and which surfaces pose the highest infection risk.
High-touch surfaces, contacted repeatedly throughout the day, transfer germs fastest and need the most frequent disinfection.
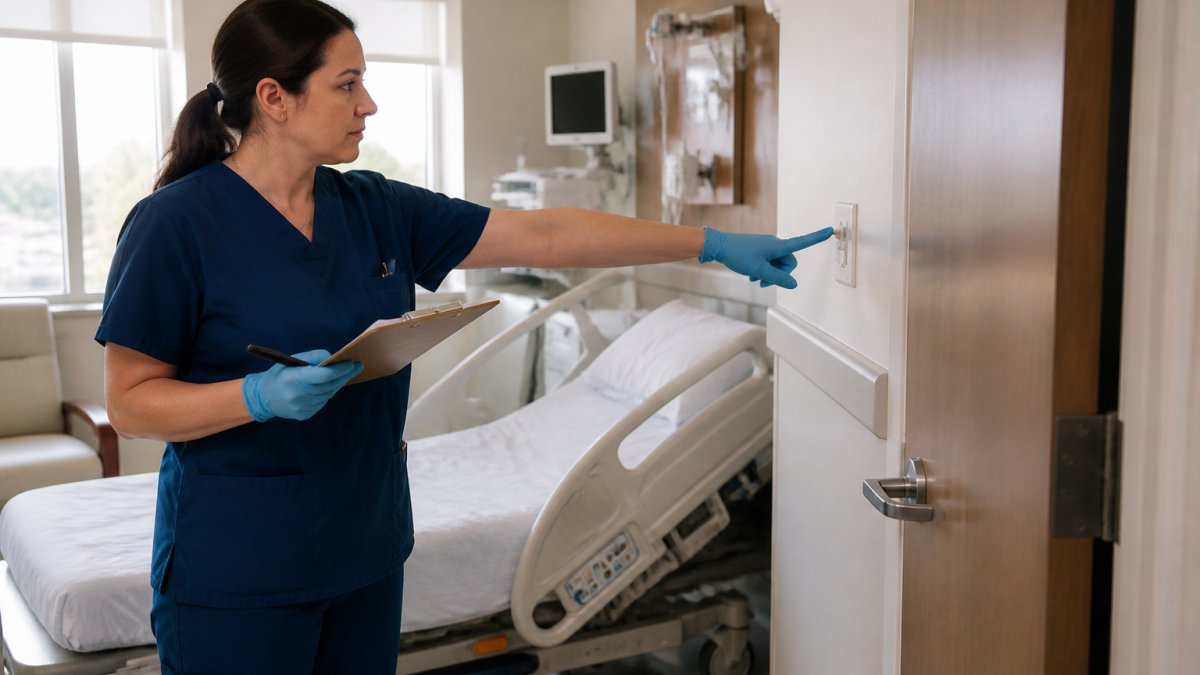
Common High-Touch Points in Medical and Office Environments
Focus your efforts on surfaces people touch most:
- Door handles and push plates
- Bed rails and headboards
- Bedside tables and trays
List these areas, mark them on a floor plan, and assign staff to check each location every shift.
Step 2: Pre-Clean and Remove Visible Soil
Never apply disinfectant to dirty surfaces. Visible soil blocks the disinfectant from reaching germs underneath.
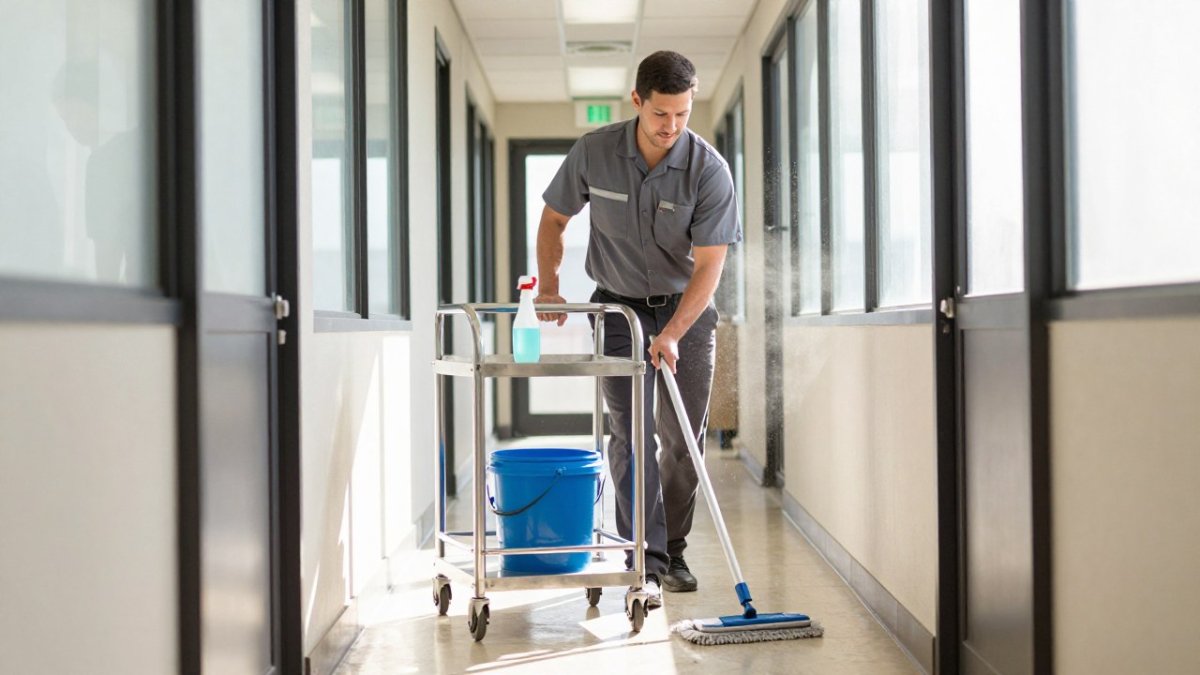
Pre-clean with a multi-purpose cleaner and manual detergent, using a damp cloth or mop to remove dust, debris, and visible contamination.
Areas with visible blood, body fluids, or other organic material require immediate removal before disinfection can work.
Pre-cleaning takes 5-10 minutes per patient room and ensures your hospital grade disinfection protocol works.
Step 3: Choose Approved Cleaning Agents and Hospital-Grade Disinfectants
Disinfectants are not interchangeable. The right product depends on the surface material, the target organism, and how it will be used, treating selection as a single decision is the most common reason hospital-grade protocols fail.
Start With the EPA Registration and the Label Claims
In the United States, a hospital-grade disinfectant must carry an EPA registration number tying it to approved claims (the EPA). Read the label for:
- EPA registration number, confirms the product is registered for the claims it makes.
- Organism kill claims, the specific bacteria, viruses, and fungi the product is proven to kill. A product effective against one pathogen may carry no claim against another.
- Contact time per organism, the same product can require different dwell times for different organisms. A 30-second claim for one virus does not mean 30 seconds kills everything on the label.
Without an EPA registration number and a healthcare use site on the label, a product is not a hospital-grade disinfectant regardless of marketing.
Match the Chemistry to the Surface
Disinfectant chemistries behave differently on different materials: a product safe on stainless steel may cloud plastic, and one safe on sealed floors may dull a finished surface.
- Quaternary ammonium compounds (quats), widely used on hard, non-porous surfaces. Generally compatible with many healthcare surfaces, but some can leave a film and may be incompatible with certain plastics and floor finishes. Check the label.
- Phenolics, effective on many hard surfaces but harsh on some plastics and rubber, and not appropriate for food-contact surfaces. They carry stronger respiratory and skin hazards.
- Hypochlorite (bleach) solutions, effective against a broad range of organisms, including some quats do not fully address, but corrosive to many metals, damaging to some fabrics, and quickly inactivated by organic soil. Requires careful dilution and ventilation.
Always test a new product on an inconspicuous area first to prevent costly damage.
Match the Product to the Organism and the Area
Selection is also about what you are trying to kill and where.
- Routine patient rooms, broad kill claims and short contact time keep turnover efficient. Quats and hydrogen peroxide-based products are common.
- Isolation rooms and outbreak response, some pathogens require a specific kill claim, such as a sporicidal claim for C. difficile or a claim against a specific virus. A general-purpose quat may not carry it.
- Procedure and surgical areas, products must be compatible with the room's equipment and surfaces and must not leave residue that interferes with patient care.
Work with your infection control team to build a product-to-area matrix naming each product, its surfaces, target organisms, contact time, and dilution ratio.
Dilution, Storage, and Chemical Safety
How you handle the product matters as much as which you choose.
- Dilute exactly as directed. Use the label's ratio and measure with a dedicated cup or automated dilution system. Eyeballing is a common cause of failed disinfection and unnecessary chemical exposure.
- Label secondary containers. If you transfer a diluted product into a spray bottle, label it with the product name, dilution, and date. Unlabeled containers are a safety hazard and compliance problem.
- Ventilate. Use products in well-ventilated areas. Follow the label's ventilation instructions, especially for bleach and phenolic products.
A correctly chosen product diluted or stored incorrectly will not deliver hospital-grade results. Treat selection and handling as one decision.
Step 4: Apply Disinfectant and Maintain Hospital-Grade Disinfectant Contact Time
Application method matters. The disinfectant must stay wet on the surface long enough to kill germs.
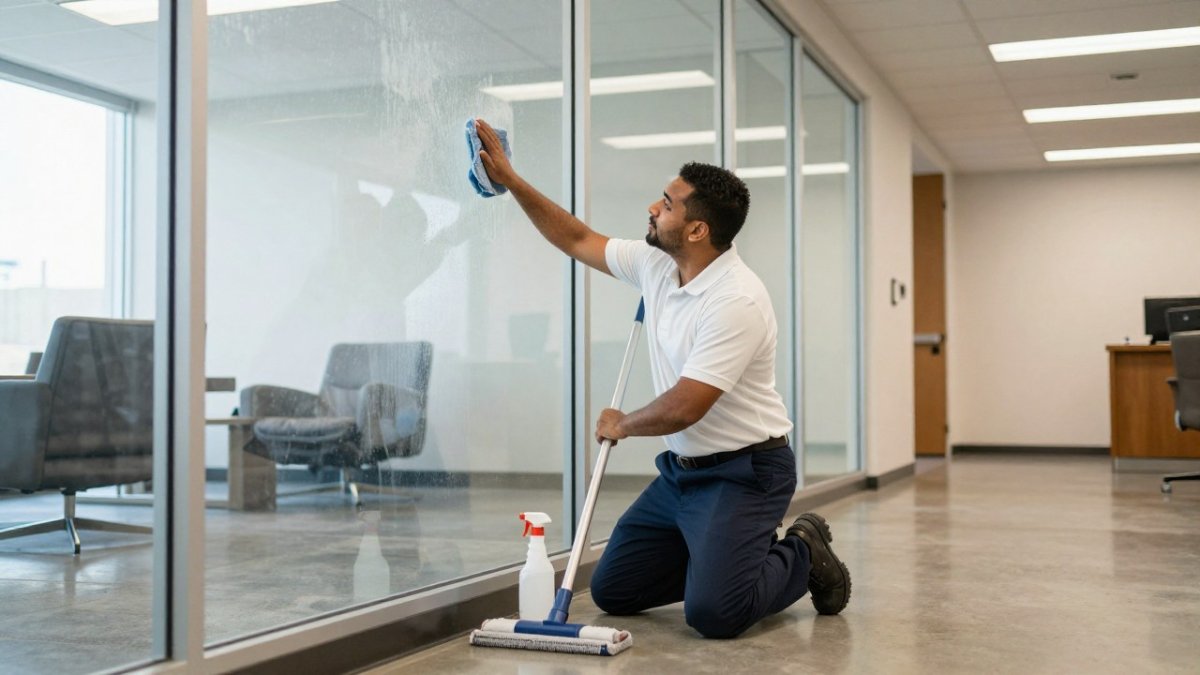
Apply disinfectant evenly across the entire surface, spray bottle for large areas, cloth for smaller ones, and do not let it dry before contact time is complete.
Understanding Dwell Time and Application Methods
Dwell time (contact time) is how long the disinfectant must remain wet to be effective, typically 30 seconds to 10 minutes.
Check your product's label for exact dwell time. Common contact times:
- 30-60 seconds for most quaternary ammonium compounds
- 1-3 minutes for phenolic disinfectants
- 3-10 minutes for hypochlorite solutions
Do not wipe or rinse before dwell time expires; set a timer and train staff to wait the full contact time.
Application methods include:
- Spray and wipe: Spray the surface, wait for dwell time, then wipe dry.
- Cloth application: Saturate a cloth with disinfectant, apply to surface, wait, then wipe.
- Electrostatic spraying: For large areas or high-traffic zones, electrostatic equipment provides 360-degree coverage, reaching surfaces standard spraying misses.
Electrostatic sprayers are especially useful for terminal cleaning (complete room disinfection between patients).
Step 5: Implement a Healthcare Facility Cleaning and Disinfection Protocol
A written protocol ensures every staff member follows the same steps in the same order. It should specify:
- Which surfaces receive disinfection and how often
- Which products to use in each area
- Application methods and dwell times
Post the protocol in break rooms and supply areas, train all staff, and review it annually or when products change.
Room Turnover and Terminal Cleaning
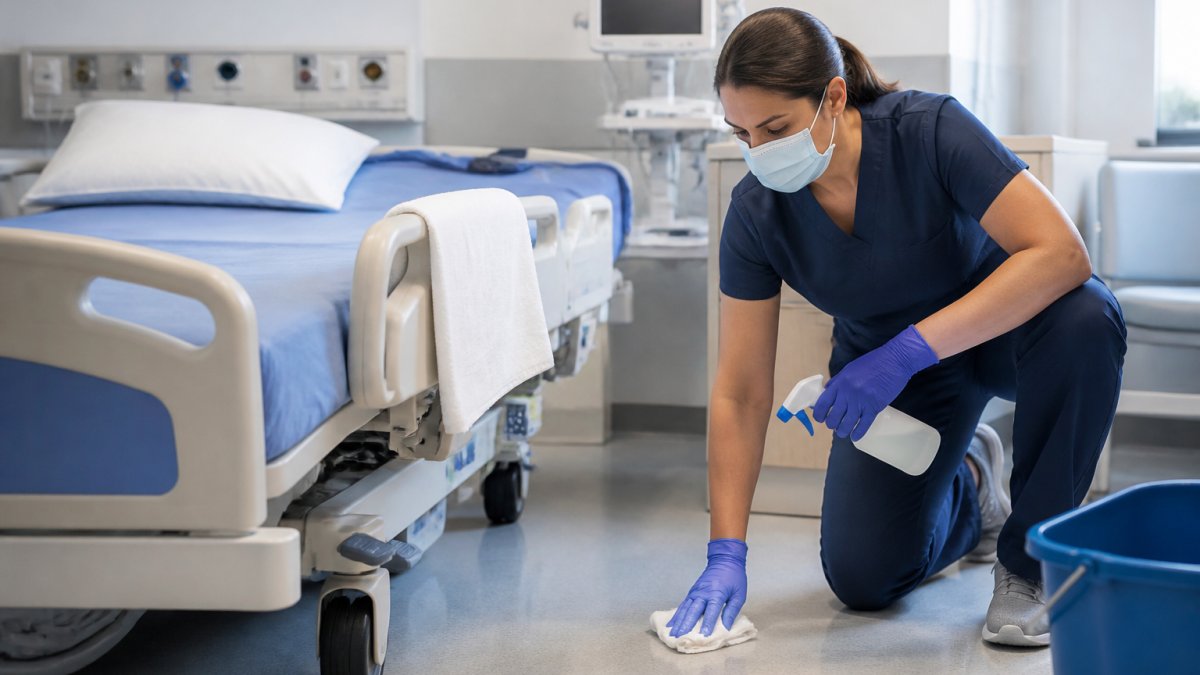
Room turnover happens between patients. Clean and disinfect all high-touch surfaces, bedding, and equipment the patient contacted.
Terminal cleaning is thorough disinfection of the entire room after patient discharge, including walls, floors, air vents, and surfaces staff may not touch daily. It takes 30-60 minutes depending on room size.
Establish a schedule:
- Room turnover: 15-30 minutes per room
- Terminal cleaning: 30-60 minutes per room
- High-traffic common areas: disinfect 2-3 times daily
Document completion. Use a checklist so nothing is missed.
Step 6: Create a Cleaning and Disinfection Standard Operating Procedure
A standard operating procedure (SOP) is your facility's official disinfection guide, documenting every step so anyone can follow it correctly. It should include:
- Facility layout with high-touch surface locations marked
- Product names, concentrations, and dwell times
- Step-by-step instructions for each area
Staff Training and Responsibility Assignment
Train all staff on the SOP before they begin disinfection work. Cover:
- Why hospital-grade disinfection matters
- How to identify high-touch surfaces
- Proper application techniques
Assign specific staff to specific areas, create a consistent schedule, and rotate responsibilities for cross-training.
Hold refresher training quarterly. Update training when procedures or products change. Document all training in staff files.
Step 7: Validate and Measure Disinfection Effectiveness
Validation proves your protocol actually works. A protocol that looks correct on paper can still fail if contact time is cut short, a surface is missed, or a product is diluted incorrectly, validation catches those failures before they become infections.
No single method proves a surface is sterile. The strongest programs combine visual inspection, ATP testing, and documentation review, understanding what each tool can and cannot tell them.
Visual Inspection: Fast, Free, and Limited
Visual inspection is the first line of verification. After disinfection, check that the surface is visibly clean, dry, and free of residue, streaks, and debris.
- What it catches: missed spots, leftover soil, product residue, and surfaces never touched.
- What it misses: invisible organic soil and live microorganisms. A surface can look clean and still carry pathogens.
Use it as a screening step, not proof of disinfection. If a surface fails it, it fails the whole process regardless of any test.
ATP Testing: A Practical Measure of Organic Residue
ATP (adenosine triphosphate) is present in all living cells and many organic residues.
ATP testing is fast, gives immediate feedback, and is the most common validation tool in healthcare environmental services because results arrive in seconds.
Important limits of ATP testing:
- It does not identify specific pathogens. A low reading does not prove a surface is free of a particular organism.
- It measures organic residue, not sterility. A surface with low ATP can still carry microorganisms if residue was removed but disinfectant was not applied correctly.
- Readings vary by device and swab. Different ATP meters use different scales and units, so a reading acceptable on one device may not be comparable to another.
Establish a baseline by testing surfaces before and after disinfection, set internal targets your team can consistently achieve, and track results over time, investigating upward trends.
When to Use a More Specific Test
For certain situations, ATP testing is not enough. To confirm a specific organism has been eliminated, after an outbreak or in a high-risk area, a laboratory culture or pathogen test may be appropriate.
Work with your infection control team to decide when a specific test is warranted; routine ATP monitoring plus targeted laboratory testing is a common, practical combination.
Documentation and Audit Checklist
Validation only works if documented. Keep a record of every test, result, and corrective action, using a checklist so nothing is skipped.
A usable audit checklist should include:
- Date, time, and location of each test.
- Surface or item tested and its high-touch designation.
- Product used and its dilution and contact time.
Review the checklist weekly for patterns, a room, shift, or surface that repeatedly fails. Patterns point to the root cause: insufficient contact time, a missed step, an incompatible product, or a training gap.
Set Benchmarks That Fit Your Facility
Rather than adopting another facility's number, set benchmarks from your own baseline data:
- Test a representative set of surfaces before disinfection to establish a baseline.
- Test the same surfaces after disinfection to measure reduction.
- Set an internal target that reflects consistent, achievable performance.
- Track results over time and adjust the target as your process improves.
If readings stay high, investigate: common causes include insufficient contact time, the wrong product for the surface, missed spots, staff not following protocol, and incorrect dilution.
Close the Loop
Validation is not a one-time event but a cycle: test, record, review, correct, and retest. A facility that validates regularly and acts on results will outperform one that follows a checklist without checking whether it works.
Frequently Asked Questions
What does hospital-grade disinfectant mean?
Hospital-grade disinfectant refers to EPA-approved disinfectants capable of killing a broad spectrum of pathogens, including bacteria, viruses, and fungi, in clinical and healthcare settings. These disinfectants meet strict efficacy standards and are tested against specific organisms. They differ from general-purpose cleaners because they are formulated to eliminate infection control risks in high-risk environments. Hospital-grade disinfection requires proper contact time, correct dilution, and application to all surfaces to be effective.
How long should hospital-grade disinfectant contact time be on a surface?
Contact time, or dwell time, varies by disinfectant and target organism, typically ranging from 30 seconds to 10 minutes. Check the product label for the specific contact time required for your chosen disinfectant and the pathogens you aim to eliminate. Surfaces must remain visibly wet for the entire contact period. Wiping too early reduces effectiveness. Most healthcare facility disinfection protocols specify 1-3 minute contact times for routine environmental surface disinfection.
What's the difference between cleaning, sanitizing, and disinfecting?
Cleaning removes visible dirt and soil using detergent and water, it does not kill pathogens. Sanitizing reduces microorganisms to safe levels on food-contact surfaces, typically using heat or approved sanitizers. Disinfecting kills pathogens on environmental surfaces using chemical disinfectants or other methods like UV-C light. Hospital-grade disinfection is the most rigorous process, designed to eliminate infection control risks in healthcare and high-risk commercial environments.
How often should high-touch surfaces be disinfected in a healthcare facility?
High-touch surfaces in healthcare facilities should be disinfected multiple times daily, typically every 2-4 hours depending on patient volume and infection control risk. Between patient room turnovers, terminal cleaning with hospital-grade disinfectant is essential. Common high-touch points include bed rails, bedside tables, door handles, light switches, and IV poles. Frequency increases during outbreaks or in isolation rooms. Your healthcare facility cleaning and disinfection protocol should specify exact schedules based on your facility type and patient population.